In the world of computer hardware, the CPU fan plays a crucial role in maintaining optimal performance and preventing overheating. However, encountering a scenario where the CPU fan refuses to spin can be quite frustrating. This article aims to provide you with troubleshooting tips to address this issue effectively, ensuring that your computer remains cool and functional.
Troubleshooting steps for a non-spinning CPU fan
1. Check the fan header connection on the motherboard. Make sure it is securely plugged in and not loose.
2. Inspect the fan and its wires for any visible damage or loose connections.
3. Clean the fan and heatsink from any dust or debris that may be obstructing its rotation.
4. Ensure that the fan is receiving power by checking the fan pins on the motherboard. Use a multimeter to measure the voltage if necessary.
5. Check the BIOS settings to make sure the fan speed is not set to a low threshold.
6. If the fan still doesn’t spin, try connecting it to another fan header on the motherboard to see if it’s a problem with the header or the fan itself.
7. Consider replacing the fan if none of the above steps resolve the issue.
Remember to power off your PC and take necessary precautions when working with the internal components to avoid any accidents or damage.
Solutions for fixing a CPU fan that is not working
1. Check the power supply: Make sure the fan is properly connected to the power source. Ensure that all the wires and pins are securely plugged in.
2. Clean the fan and heatsink: Dust accumulation can hinder the fan’s performance. Use compressed air or a soft brush to remove any dust or debris from the fan and heatsink.
3. Check the BIOS settings: Access the BIOS menu and make sure the fan settings are correctly configured. Look for options related to fan control and adjust them if necessary.
4. Test the fan on another port: If the fan is connected to a motherboard header, try connecting it to a different header to rule out any port issues.
5. Replace the fan: If the fan still doesn’t work after trying the above steps, it may be necessary to replace it. Consult the manufacturer’s instructions or seek professional assistance for proper installation.
Remember to power off your PC before attempting any of these solutions to avoid any potential damage.
How to prevent overheating and errors caused by a faulty CPU fan
If your CPU fan is not spinning, it can lead to overheating and errors in your system. Here are some troubleshooting tips to fix this issue:
1. Check the power supply: Make sure the power supply unit (PSU) is properly connected and functioning.
2. Clean the fan: Dust and debris can obstruct the fan’s mechanism. Use compressed air to clean the fan blades and ensure smooth rotation.
3. Check the fan’s connection: Ensure that the fan is securely connected to the motherboard.
4. Test the fan: Connect the fan to a different power source, such as a case fan or GPU fan header, to see if it spins. If it does, the issue may lie with the motherboard or CPU fan header.
5. Replace the fan: If all else fails, consider replacing the faulty CPU fan with a new one.
Remember, overheating can cause damage to your processor and other components, so addressing this issue promptly is crucial.
python

import psutil
def check_fan_status():
fan_speed = psutil.sensors_fans().get('cpu_fan')
if fan_speed:
rpm = fan_speed[0].current
if rpm > 0:
print("The CPU heatsink fan is spinning.")
else:
print("Warning: The CPU heatsink fan is not spinning.")
else:
print("Unable to retrieve fan status.")
check_fan_status()
In this code, we make use of the `psutil` library, which provides an interface to retrieve system information, including fan speeds. We specifically check the CPU fan speed and determine if it is greater than zero (indicating it is spinning) or not.
Please note that this code assumes you have the `psutil` library installed. You can install it using the command `pip install psutil` if you don’t already have it.
Keep in mind that this is only a basic example, and in a real-world scenario, you might want to incorporate additional functionality such as sending notifications or taking corrective measures if the fan is not spinning properly.
Steps to take when encountering a CPU fan failure
-
Check the power connection:
- Make sure the computer is turned off and unplugged from the power source.
- Open the computer case and locate the CPU fan.
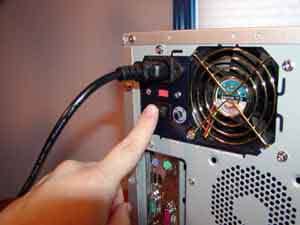
- Check for any loose or disconnected power cables connected to the fan.
- If any cables are loose, reconnect them securely.
-
Clean the fan and heatsink:
- Use compressed air to blow away any dust or debris from the fan and heatsink.
- Ensure that the fan blades are free from any obstruction.

- If the fan is still not spinning, gently spin it manually to check for any resistance.
-
Replace the fan:
- If the fan is damaged or not functioning properly, it may need to be replaced.
- Remove the old fan by unplugging any power cables and unscrewing it from the heatsink.
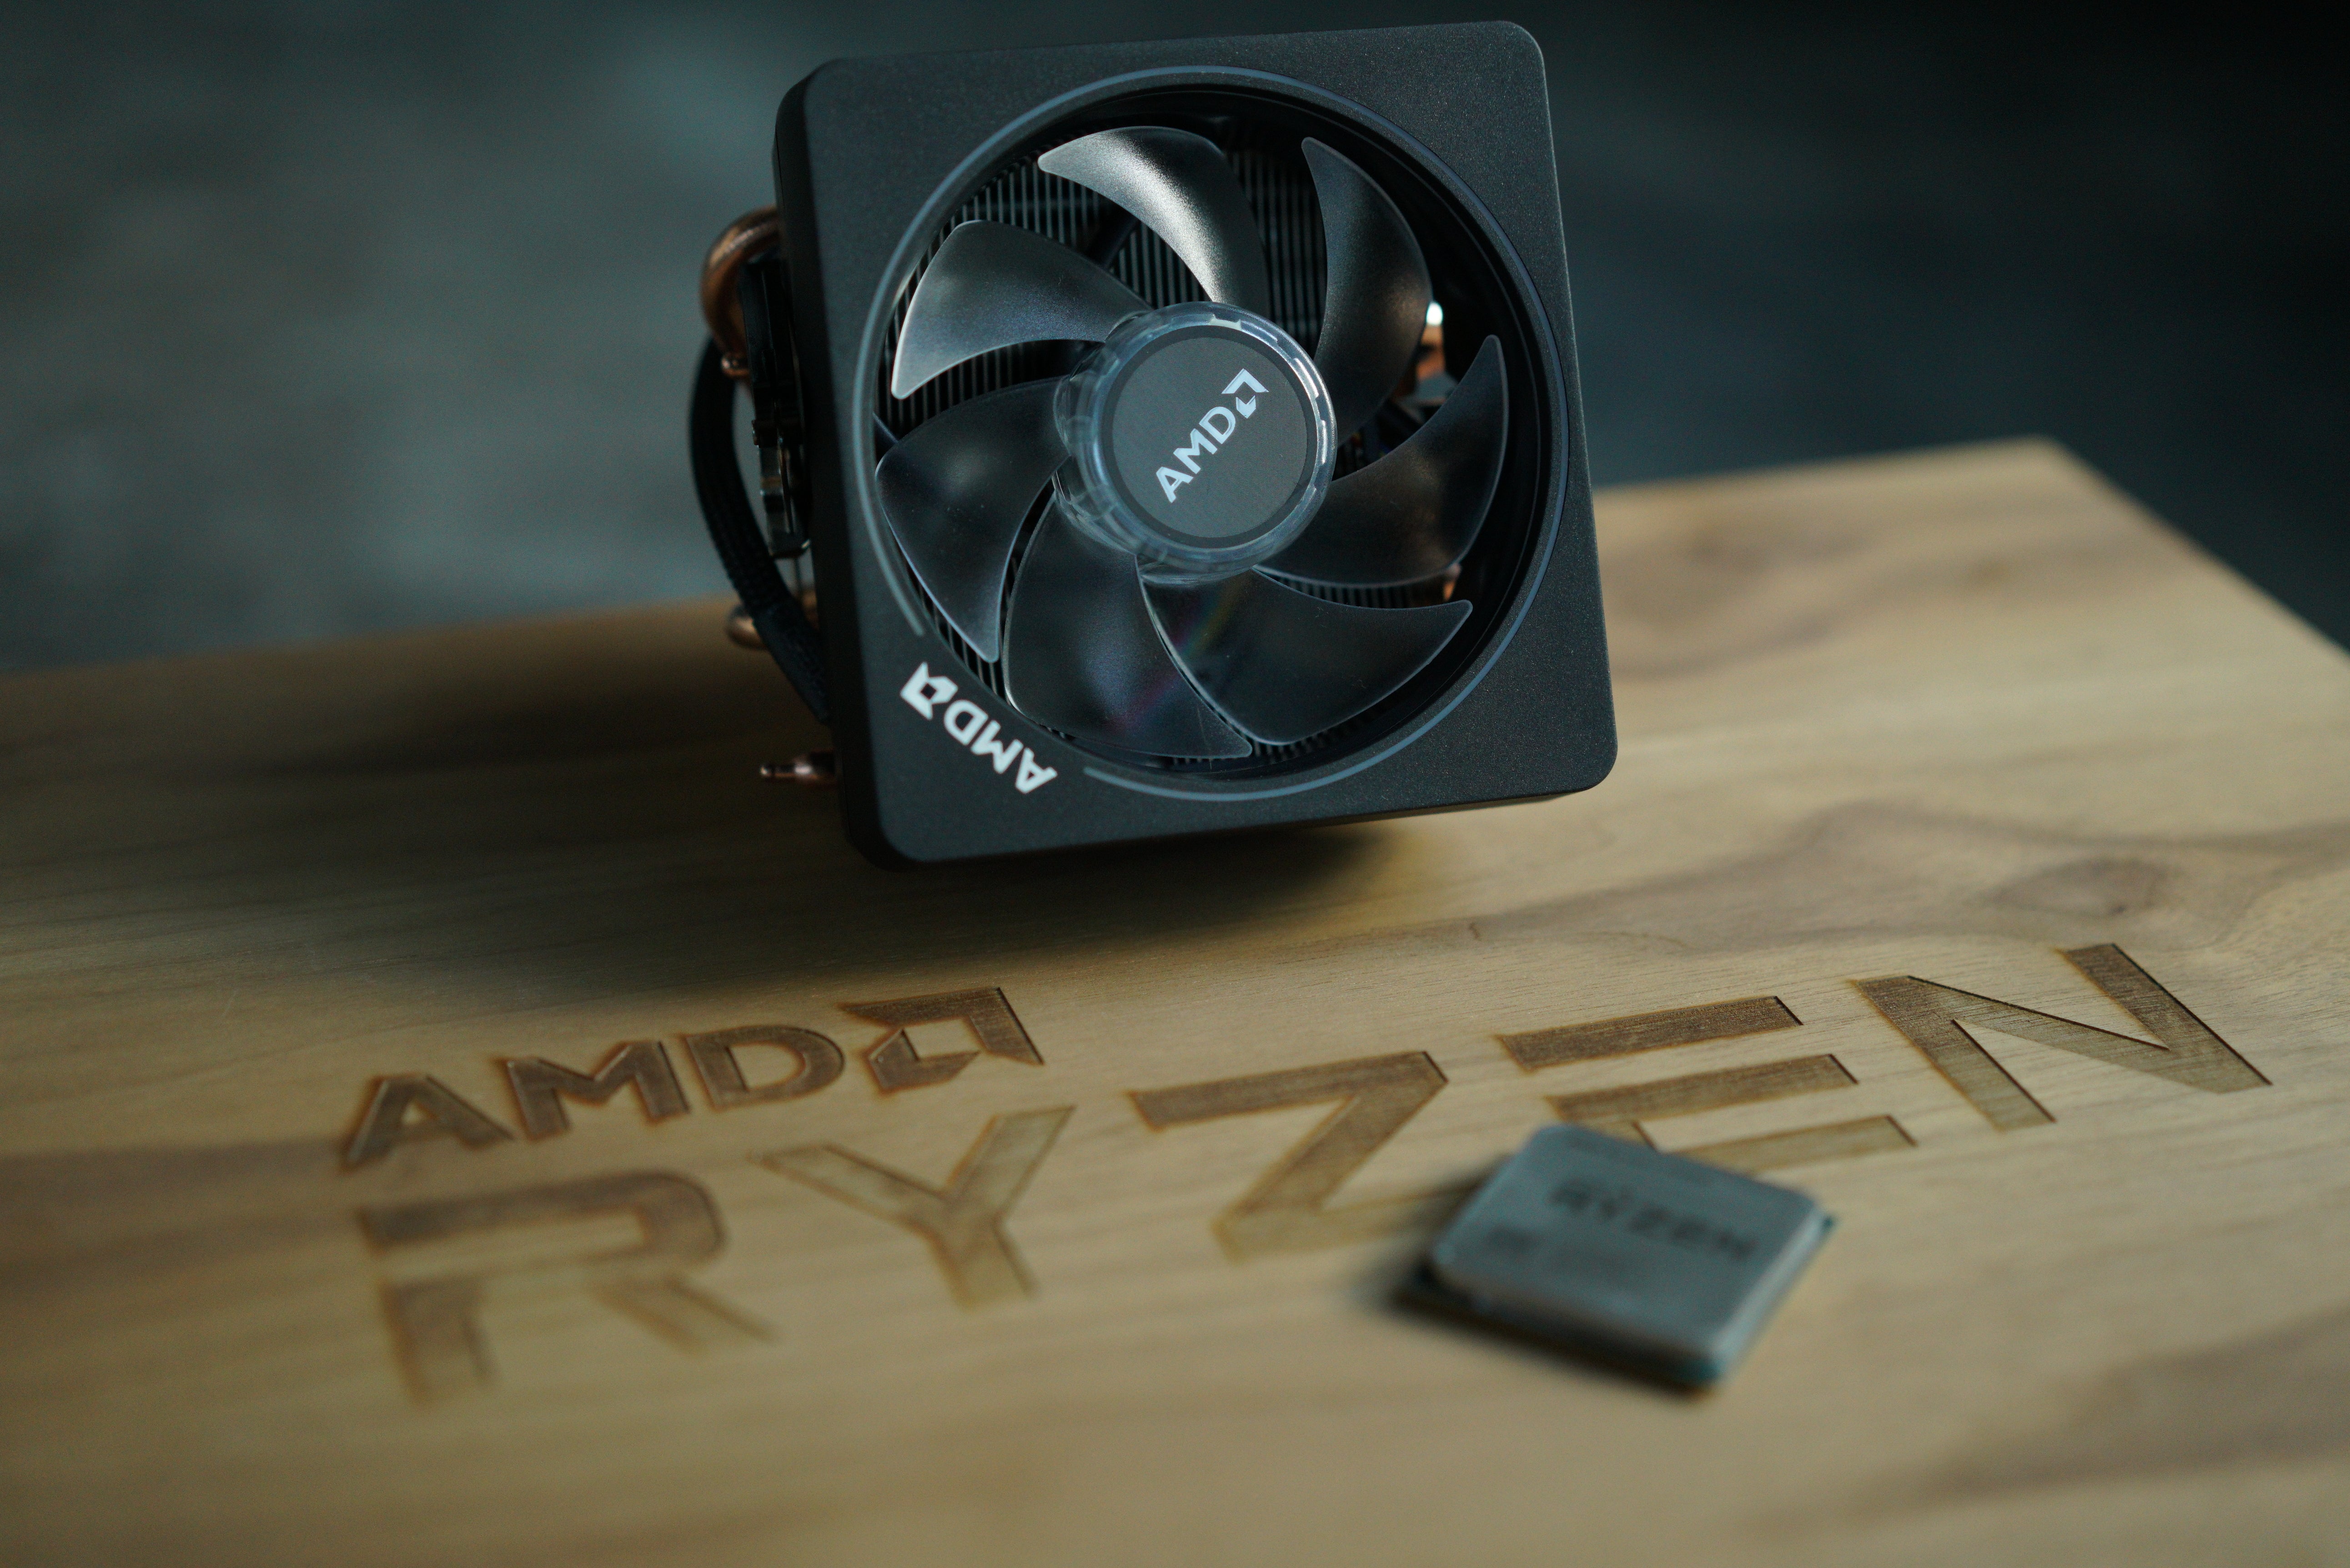
- Install the new fan by aligning it with the screw holes on the heatsink and securing it with screws.
- Connect the power cables to the new fan.
-
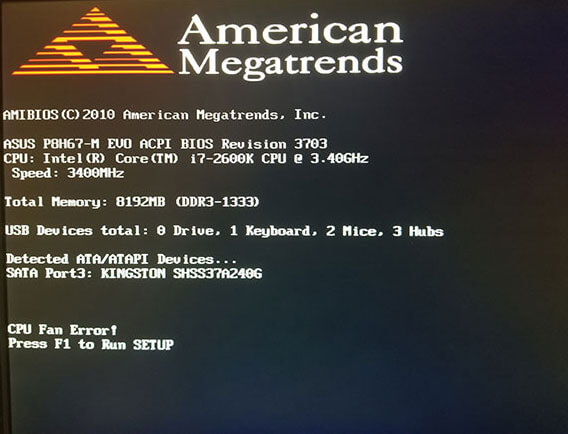
Check the BIOS settings:
- Restart the computer and enter the BIOS setup by pressing a specific key (usually Del, F2, or F10) during the boot process.
- Navigate to the “Hardware Monitor” or “PC Health” section.
- Ensure that the CPU fan is set to “Enabled” or “Auto” in the BIOS settings.
- If necessary, make any required changes and save the settings before exiting the BIOS.
-
Monitor the CPU temperature:
- Install a temperature monitoring software or use the built-in monitoring tools provided by the operating system.
- Keep an eye on the CPU temperature to ensure it stays within safe limits even after the fan has been fixed or replaced.
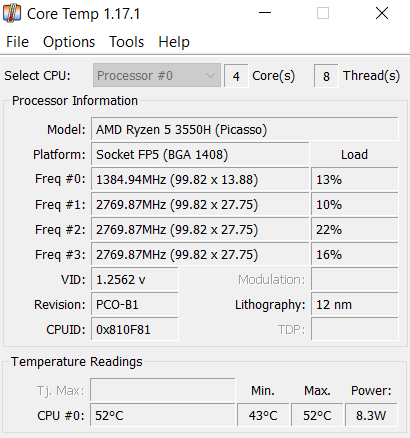
- If the temperature exceeds safe levels, consider upgrading the cooling system or consulting a professional for further assistance.
