Introducing the Dell TP713 Wireless Touchpad for Windows 10, a seamless blend of innovation and convenience that enhances your computing experience like never before.
Touchpad Features and Selection
The Dell TP713 Wireless Touchpad is a convenient accessory for Windows 10 users who prefer the feel of a touchpad over a traditional mouse. With its wireless capability, you can enjoy a clutter-free workspace.
To access the touchpad features, download the necessary software from Dell’s support website at http://www.dell.com/support/home/en-us/drivers/driversdetails. Once installed, you can customize the touchpad settings to suit your preferences.
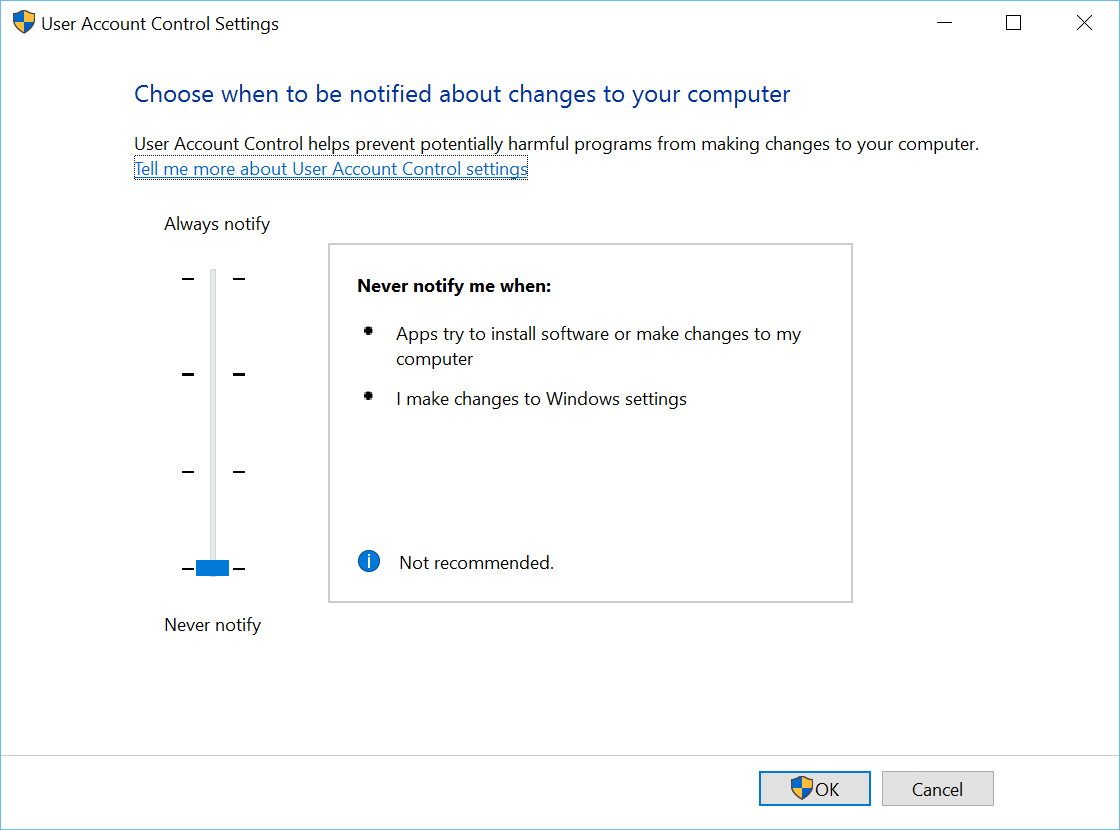
During setup, you may encounter a traffic management system called Touchpad Agent. To proceed, grant the necessary permissions and complete the Captcha verification.
The touchpad agent, Touchpad Agent.exe, is the main executable file for the program. It is located in the C:Program FilesTouchpad Agent folder. To uninstall the program, use the Programs and Features or Uninstaller in the Control Panel.
For detailed instructions on installation, maintenance, and usage, refer to the Dell TP713 Wireless Touchpad manual available on Dell’s website.
Installing and Removing Dell TP713 Wireless Touchpad Agent
To install the Dell TP713 Wireless Touchpad Agent on your Windows 10 PC, follow these steps:
1. Download the setup package from the official Dell website at www.dell.com.
2. Locate the downloaded file on your computer and double-click on it to launch the setup.
3. Follow the on-screen instructions to complete the installation process.
4. Once the installation is complete, you can access the Dell TP713 Wireless Touchpad Agent through the Start menu or desktop shortcut.
5. If you ever need to remove the Touchpad Agent, go to the Control Panel and open the Programs and Features or Add/Remove Programs section.
6. Find the Dell TP713 Wireless Touchpad Agent in the list of installed programs and select it.
7. Click on the Uninstall button and follow the prompts to remove the software from your PC.
Note: Make sure to save any unsaved work before removing the Touchpad Agent.
Updating Dell TP713 Keyboard Drivers
To update Dell TP713 Keyboard Drivers for Windows 10, follow these steps:
1. Download the latest drivers for the Dell TP713 Wireless Touchpad from the Dell support website.
2. Save the driver file to your computer’s hard drive.
3. Locate the downloaded driver file and double-click on it to launch the setup package.
4. Follow the on-screen instructions to install the drivers.
5. Once the installation is complete, restart your computer.
6. After the restart, your Dell TP713 Wireless Touchpad should be recognized by Windows 10 and ready to use.
Note: If you encounter any issues during the installation process, ensure that you have administrative rights and disable any bot activity or traffic management systems that may interfere with the installation. If necessary, grant permission or complete any Captcha prompts.
For more detailed instructions, you can refer to the Dell TP713 Wireless Touchpad user manual or contact Dell support.
Common Issues with TP713 Driver Updates
-
Driver not installing or updating:
- Make sure you are downloading the correct driver for your specific TP713 model.
- Disable any antivirus or firewall software temporarily, as they might interfere with the installation process.
- Run the driver installer as an administrator by right-clicking on the setup file and selecting “Run as administrator”.
- Restart your computer after the driver installation completes to ensure the changes take effect.
-
Driver installation causing system instability:
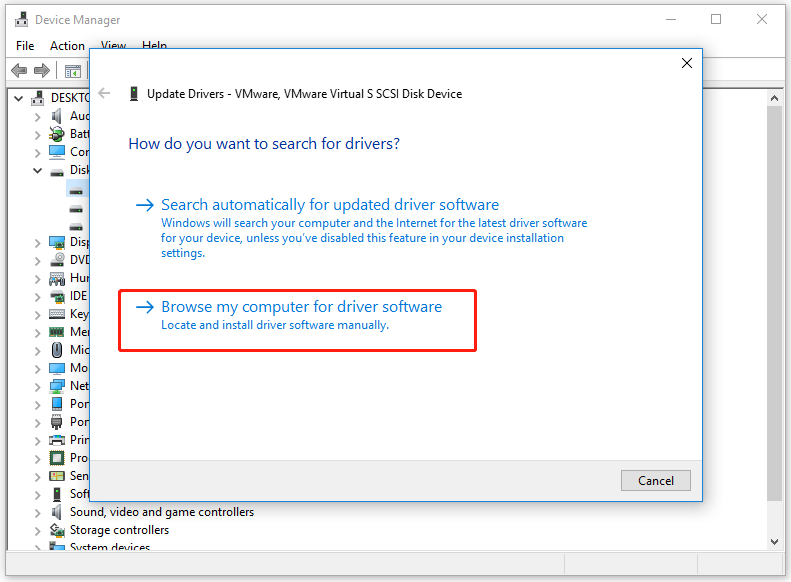
- Roll back to the previous version of the driver by opening Device Manager, locating the TP713 touchpad, right-clicking on it, and selecting “Properties”. Then, go to the “Driver” tab and click on “Roll Back Driver”.
- If the previous driver version is not available or does not resolve the instability, try uninstalling the driver completely. Open Device Manager, right-click on the TP713 touchpad, and select “Uninstall device”. Restart your computer and let Windows automatically reinstall the driver.
-
Touchpad not working after driver update:
- Check if the touchpad is enabled. Press the Windows key + I to open the Settings app, go to “Devices”, and select “Touchpad”. Make sure the toggle switch for the touchpad is turned on.
- Try adjusting the touchpad settings. Open the Settings app, go to “Devices”, and select “Touchpad”. Experiment with different settings such as sensitivity and scrolling to see if it resolves the issue.
- Perform a power cycle on your TP713 touchpad. Disconnect it from your computer, remove any batteries if applicable, and wait for a few minutes. Reconnect the touchpad and check if it starts working.
- If the touchpad still does not work, roll back or uninstall the driver as mentioned in the previous sections and then reinstall the driver from the Dell website.
-
Driver conflicts with other software:
- Check if any recently installed software is causing conflicts with the TP713 driver. Uninstall or disable such software temporarily to see if it resolves the issue.
- Update all other drivers and software on your computer to ensure compatibility with the TP713 driver.
- Consider performing a clean boot to troubleshoot software conflicts. This will start Windows with minimal drivers and startup programs. Instructions for performing a clean boot can be found on the Microsoft website.
