Unleashing the Power: Unraveling the Mysteries of Acer Aspire One’s Charging Issues
Troubleshooting Acer Laptop Charging Issues
If your Acer Aspire One laptop is not charging, there are a few troubleshooting steps you can try to fix the issue:
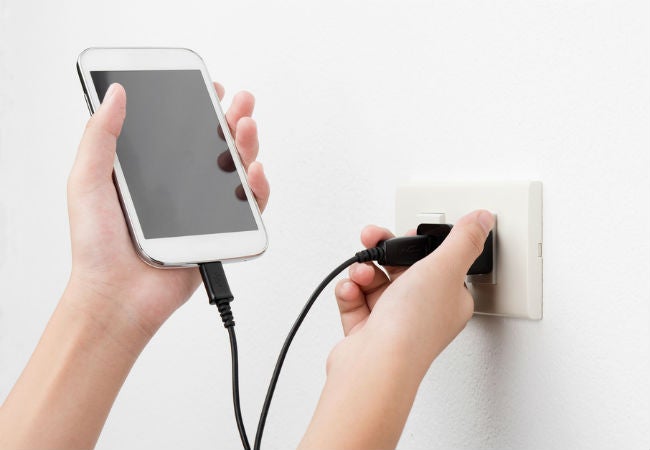
1. Check the power cord and adapter: Make sure both the power cord and AC adapter are securely connected to your laptop and the power socket. If there are any signs of damage, consider replacing them.
2. Clean the charging port: Dust and debris can accumulate in the charging port, preventing a proper connection. Use a can of compressed air to remove any dirt or debris.
3. Update drivers: Outdated or corrupted battery drivers can cause charging problems. Go to the Acer website and download the latest drivers for your laptop model.
4. Check the battery compartment: Ensure that the battery is properly inserted and securely seated in the compartment.
5. Power button reset: Turn off your laptop, unplug the AC adapter, remove the battery, and hold down the power button for 15 seconds. Then, reinsert the battery, plug in the AC adapter, and turn on your laptop.
If these steps do not resolve the issue, it may indicate a hardware defect and you should contact Acer support for further assistance.
Updating Battery Drivers and BIOS
If you’re facing a charging problem with your Acer Aspire One, it could be related to outdated battery drivers or BIOS. Updating these components can often resolve the issue. Here’s how to do it:
1. Check for updates: Go to the Acer website and look for the latest driver and BIOS updates for your specific model. Download and save them to your device.
2. Install battery drivers: Open Device Manager by pressing Windows Key + X, then selecting Device Manager. Expand the Batteries category, right-click on your battery driver, and select Update Driver Software. Choose the downloaded driver file to update it.
3. Update BIOS: Restart your laptop and enter the BIOS setup by pressing the designated key during boot (commonly F2 or Del). Look for the BIOS version and write it down. Visit the Acer website again and download the latest BIOS update for your model. Follow the instructions provided to update your BIOS.
Remember, updating these components can improve the charging performance of your Aspire One, so make sure to keep them up to date.
Resetting the Battery and Checking Power Cords
If your Acer Aspire One is not charging, there are a few troubleshooting steps you can take to fix the problem. First, try resetting the battery.
To do this, disconnect the power cable and remove the battery from your laptop. Hold down the power button for 30 seconds to drain any residual power. Then, reinsert the battery and reconnect the power cable.
Next, check the power cords for any damage or loose connections. Make sure the power cable is securely plugged into both your laptop and the power socket.
If these steps don’t resolve the issue, there may be a hardware defect or a problem with the battery itself. In this case, it’s best to contact Acer support for further assistance.
Remember, troubleshooting charging problems can be caused by a variety of reasons, so it’s important to read the entire article for more potential fixes.
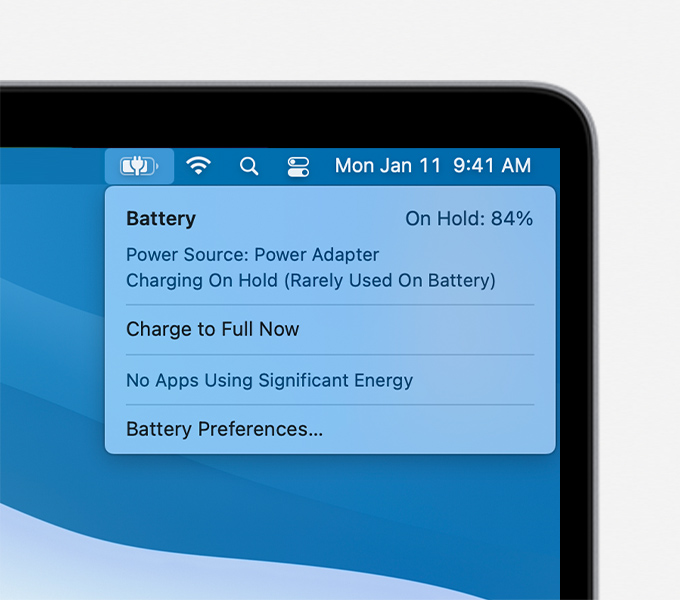
python

import psutil
def check_battery_status():
battery = psutil.sensors_battery()
if battery.power_plugged:
if battery.percent < 100:
print("Acer Aspire One is connected to a power source but not charging.")
else:
print("Acer Aspire One is connected to a power source and fully charged.")
else:
print("Acer Aspire One is not connected to a power source.")
check_battery_status()
In this code, we use the `psutil` library, which provides information about system utilization and hardware resources. The `check_battery_status()` function checks if the laptop is connected to a power source and whether it is charging or not. It then displays an appropriate message based on the battery status.
Please keep in mind that this code only checks the power status provided by the operating system and does not diagnose or fix any hardware issues. It's always recommended to consult the manufacturer's guidelines or seek professional assistance for hardware-related problems.
Dealing with Non-Removable Battery and Orange Light Blinking
If you're experiencing a non-removable battery and an orange light blinking issue on your Acer Aspire One, there are a few troubleshooting steps you can try.
First, ensure that your laptop is connected to a power source. Check the power cord, adapter, and the power outlet for any signs of damage.
Next, try resetting the battery by performing a power cycle. Disconnect the power cord, remove the battery (if possible), and hold down the power button for 30 seconds. Reconnect the battery and power cord, then try turning on the laptop.
If the issue persists, check for any dust or debris in the charging port. Use compressed air or a soft brush to clean it gently.
Another solution is to update your laptop's BIOS. Visit Acer's support website and download the latest BIOS version for your specific model. Follow the instructions provided to update it.
If none of these methods work, it may be a hardware issue, and contacting Acer's customer support would be the best way to proceed.
Additional Steps to Fix Acer Laptop Charging Problems
- Step 1: Check the power adapter and cable for any visible damage or frayed wires.
- Inspect the power adapter for any physical damage such as bent pins or loose connections.
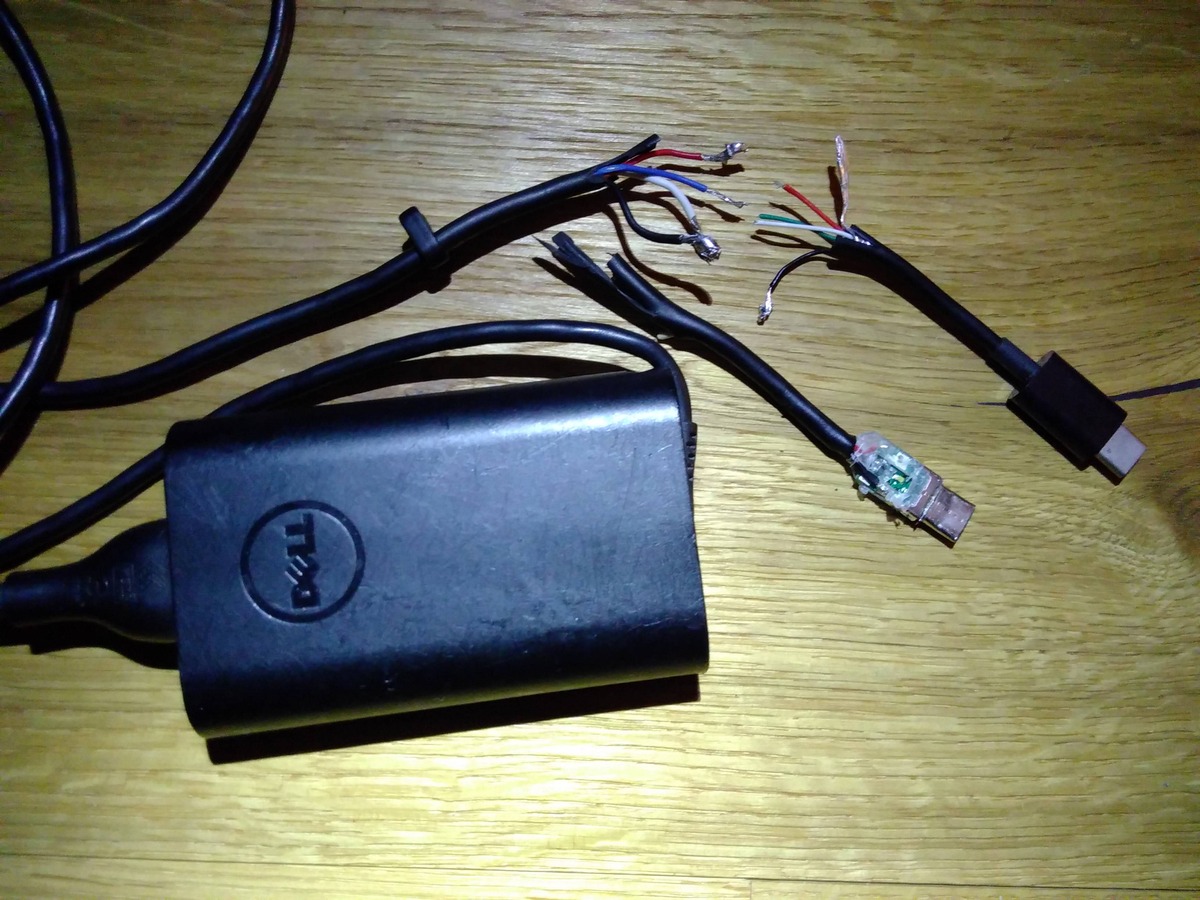
- Examine the power cable for any signs of wear and tear, such as exposed wires or kinks.
- If any damage is found, replace the power adapter or cable with a new one.
- Step 2: Verify that the power outlet is functioning properly.
- Plug another electronic device into the same power outlet to check if it is receiving power.
- If the outlet is not working, try using a different power outlet or consider contacting an electrician to fix the issue.
- Step 3: Clean the charging port and connectors.
- Turn off the laptop and disconnect the power adapter.
- Gently clean the charging port using a soft brush or a can of compressed air to remove any dust or debris.

- Clean the connectors on both the power adapter and the laptop using a soft cloth dampened with rubbing alcohol.
- Allow the connectors to dry completely before reconnecting the power adapter.
- Step 4: Reset the laptop's power management settings.
- Shut down the laptop and unplug the power adapter.
- Remove the battery from the laptop.
- Hold the power button down for 15-20 seconds to discharge any remaining power.
- Reinsert the battery and plug in the power adapter.
- Turn on the laptop and check if it starts charging.
- Step 5: Update the laptop's BIOS.
- Visit the Acer support website and download the latest BIOS update for your specific model.
- Follow the instructions provided by Acer to install the BIOS update.
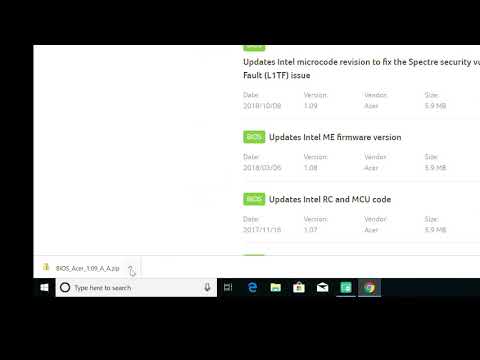
- Restart the laptop after the update is completed and check if the charging problem is resolved.
- Step 6: Perform a system restore.
- Click on the "Start" button and type "System Restore" in the search bar.
- Select "System Restore" from the search results.
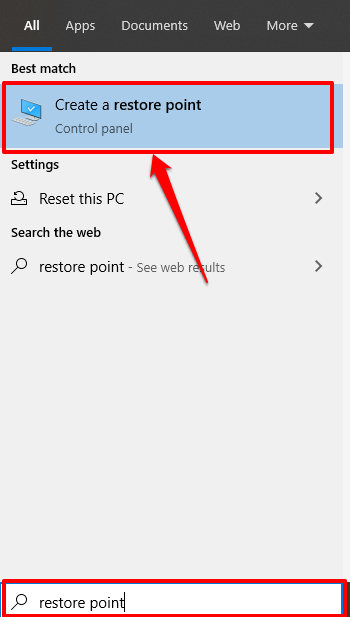
- Choose a restore point prior to experiencing the charging problem.
- Follow the on-screen instructions to restore your laptop to the selected restore point.
- After the system restore is complete, check if the charging issue has been resolved.
